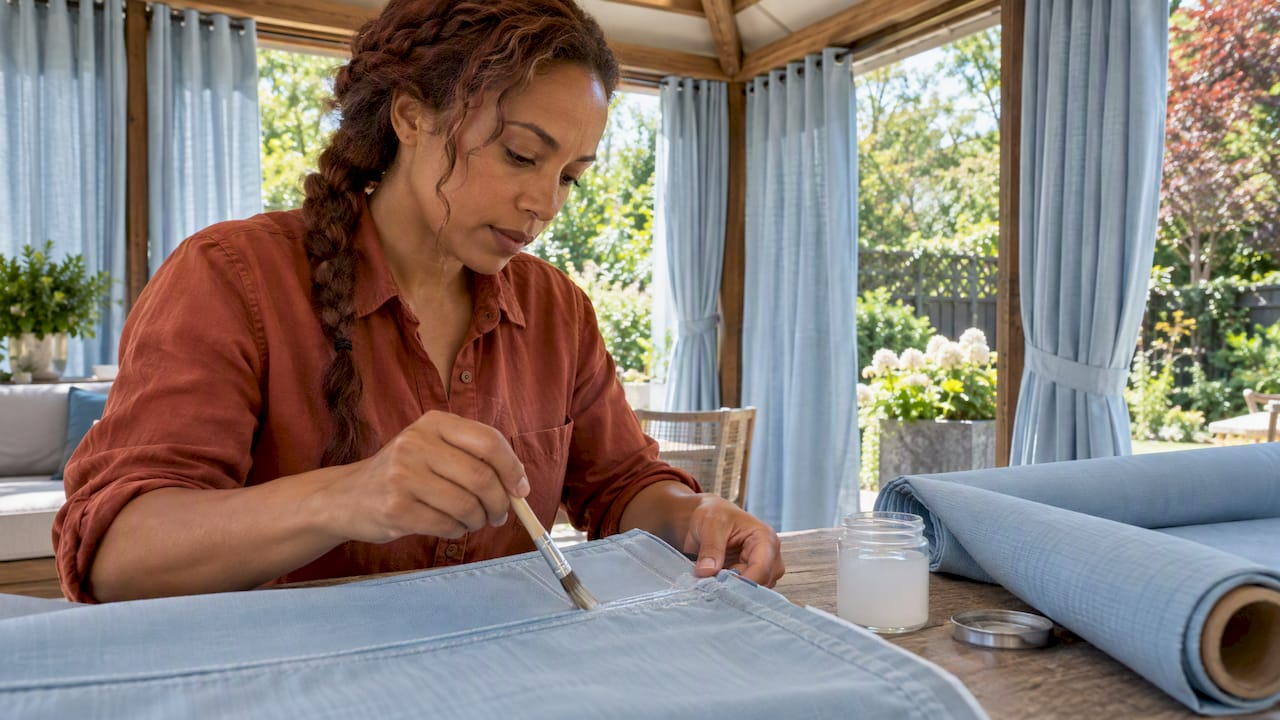
To seam seal outdoor fabric, cover every stitch line on the inside of the item with either heat-activated seam tape or a liquid seam sealer that matches the fabric’s coating. Clean the seam first, apply the product without creasing or gaps, and let it cure or cool before the fabric touches anything. The details below cover which method suits which fabric, how to prepare the seam, how to test the result and what to do when a seam still leaks.
TL;DR
- Stitching punches thousands of tiny needle holes in the fabric, so even a waterproof textile leaks at the seams until they are sealed.
- Tape suits flat, low-stress seams on PU-coated or film-backed fabric. Liquid sealer suits curves, corners and high-stress areas.
- The sealer must match the coating: silicone-coated fabric needs a silicone sealer, and polyurethane-coated fabric needs a different product.
- Keep silicone sprays and lubricants away from the seam area, and never crease the tape.
- Seam sealing fixes seam leaks only. It does not renew a worn coating or stop condensation.
Table of Contents
- Why outdoor fabric leaks at the seams
- Tape or liquid sealer: choosing a method
- Match the sealer to the fabric coating
- Prepare the seam before you seal
- How to apply seam tape
- How to apply liquid seam sealer
- Test the seal and keep it working
- Mistakes that cause a seal to fail
- Our perspective
- Choosing the right fabric before you sew
- FAQ
- Sources
Why outdoor fabric leaks at the seams
A waterproof fabric is only as watertight as its weakest line, and that line is almost always the stitching. New Mexico State University’s extension guidance explains that sewing creates vulnerable seamlines: a water-repellent fabric is not necessarily waterproof, and the seams of a waterproof fabric must be sealed or water can leak through.
Two things happen at a seam. The needle leaves a row of small holes, and the two layers of fabric meet along an edge where water can travel between them. Sealing has to cover both. According to the MYOG tutorial from Prickly Gorse Gear, seams are sealed with tape or liquid sealant that covers needle holes and the gaps between fabric layers.
This applies to a wide range of projects that sit outside: tents and tarps, boat covers and marine canopies, awnings, patio cushion covers, outdoor curtain panels and utility covers. The principle is the same each time. Seal the stitching on the side of the fabric that faces away from the weather, using a product that bonds to that particular coating.

Tape or liquid sealer: choosing a method
Both methods work. The right choice depends on the fabric, the shape of the seam and how much stress the seam will take.
| Factor | Seam tape | Liquid seam sealer |
|---|---|---|
| Best fabrics | Waterproof PU-coated or film-backed fabric | A wider variety of fabrics, including silicone-coated fabric with a silicone sealer |
| Best seams | Flat, straight, low-stress seams | Hard-to-reach, curved or high-stress seams |
| Application | Heat-activated, pressed on with an iron or a welding machine | Brushed or rolled on |
| Finish | Neat and flat | Flexible film that moves with the fabric |
| Main difficulty | Hard to apply on complex shapes | Needs time to cure |
The table follows the guidance in the MYOG seam sealing tutorial, which recommends tape for waterproof PU-coated or film-backed fabrics, especially on flat seams, and liquid sealant for stressed seams and complex shapes where tape is hard to place.
When to use tape
Tape gives a clean, factory-style seam. It is the better choice for long straight runs such as the side seams of a tarp, a panel join on a canopy or the hem of a cover. Because it is a film with a heat-activated adhesive, it does not need a cure period the way a liquid does. It does demand a steady hand and a suitable fabric, since the adhesive has to bond to the coating.
When to use liquid sealer
Liquid sealer is applied with a brush or roller and forms a flexible layer over the stitching. That flexibility is the reason it is preferred where a seam bends, takes load or follows a tight curve, such as a corner reinforcement, a zipper end or a stitched grommet patch. It is also the practical option for repairs, because you can work it into a seam that is already sewn into a finished item.
Fully taped or critically taped
You will see these terms on finished outdoor products. Advnture describes critically taped seams as seams where only selected sections are sealed, and fully taped seams as those where every seam is sealed. Full sealing is the more comprehensive approach. For a project you sew yourself, the simple rule is to seal every seam that water can reach.
Match the sealer to the fabric coating
This is the step that most often decides whether a seal holds. REI’s guidance is that the sealer must match the fabric coating: silicone-treated fabric needs a different product from polyurethane-coated fabric, and when you do not know the coating, you should check with the manufacturer.
In practice, ask three questions before you buy anything:
- What is the coating? Look at the label or product listing for polyurethane (PU), silicone, vinyl or PVC, or an uncoated weave.
- What does the sealer say it bonds to? The packaging should name the fabrics it is made for. Silicone-coated fabric requires a silicone sealant, according to the MYOG tutorial.
- Is the tape designed for that coating? Tape made for polyurethane fabrics may not stick to silicone-coated nylon, so a scrap test matters.
A fabric with no coating at all, such as plain cotton canvas, is a different case. A sealer will not make it waterproof on its own, because the weave itself still passes water. Decide first whether the base fabric is genuinely waterproof, then seal its seams.
A word on marine and vinyl fabrics
Marine textiles and vinyl-coated fabrics are built to shed water, so their seams are the point of failure. Check the sealer’s label for vinyl or coated synthetics, and test on an offcut before committing to a full seam. If you are sewing with a coated fabric from a supplier, ask which sealer or tape the maker recommends for that exact coating.

Prepare the seam before you seal
A good seal starts with a clean, tidy seam. The tape manufacturer Adhesive Films, in its instruction manual, advises cutting threads flush and keeping the seam allowance to no more than 3/8 inch, so the tape has a flat surface to cover.
A reasonable preparation routine looks like this:
- Work in a dry, well-lit space. REI recommends sealing from the inside of the item, turning it inside out where needed, and inspecting the seams as you go.
- Trim loose threads and fraying. Anything standing proud of the seam creates a channel under the tape or a thin spot in the sealer.
- Clean the seam. For liquid sealer, REI says to remove only the peeling sections of old seam tape, then gently clean the seam with a rag and rubbing alcohol and let it dry fully.
- Keep lubricants away. Silicone-based sprays or lubricants must not touch the seam area before application, because they prevent proper adhesion, as the Adhesive Films manual states. That includes a silicone spray used on a zipper or a machine needle near the stitching.
- Test on a scrap. Sew two offcuts of the same fabric together and seal that sample first.
The scrap test is the habit that separates a dependable result from a hopeful one. The same manual recommends testing tape compatibility with each fabric lot under the tape maker’s specified conditions, since coatings can vary from one roll to the next.
How to apply seam tape
Heat-activated tape is applied with a household iron on small projects or a seam-taping machine in a workroom. The steps below follow the manufacturer guidance in the Adhesive Films manual and the iron technique described by the MYOG tutorial and its research companions.
- Trim the seam allowance so the tape can extend past the stitching on both sides, and keep the allowance within 3/8 inch.
- Position the tape with the adhesive side down over the seam, centered along the stitching.
- Cover the tape with a sheet of paper or a scrap of fabric, so the iron never touches the film directly.
- Press with the iron, steam off. Test the temperature on scrap material first. It has to activate the adhesive without melting or distorting the fabric.
- Do not crease. Creases in the fabric or tape form channels where water can enter.
- Let it cool. Allow the taped area to cool for 3 to 5 minutes before it touches any other surface.
If the tape looks white or foggy after pressing, the adhesive has not fully flowed. The DIY guidance from Stitchback’s tape article is that such tape can be reheated until it turns clear and bonds. Work in short passes and check the result against your scrap sample.
Tape ends are where problems begin. Adhesive Films advises that for an unsealed end, you trim the excess and press it down, or run the seam through the welding machine again. At home, overlap tape ends slightly and press them firmly.
How to apply liquid seam sealer
Liquid sealer rewards patience more than skill.
- Set the item up with the seam side exposed and the seam clean and dry.
- Brush or roll a thin, even film over the stitching, pushing it into the needle holes and a little past the seam line on each side. As the sealer is meant to be a thin film on the inside of the seams, avoid heavy blobs.
- Cover every stitch, including the ends of seams, corners and any patch edges.
- Leave the item to cure for the time the product’s label gives, in a dry, ventilated space, before packing, folding or exposing it to water.
- Check the cured film. If light shows through a thin patch or a stitch is bare, apply a second thin coat.
One practical point: a liquid film that is too thick can crack when the fabric flexes. Two thin coats generally outperform one heavy coat, and the product label has the final word on timing.
Test the seal and keep it working
Professional taping lines test their seams with equipment. The Adhesive Films manual describes a hydrostatic test at 1.5 PSI for five minutes, followed by 3 PSI for five minutes. A home sewer does not have that equipment, but the idea carries over: put water pressure on the seam and look for a leak.
Simple home checks:
- Pool test: Stretch the seam over a bowl, pour water onto it and look underneath for damp spots after several minutes.
- Hose test: Spray the finished item from the outside with a garden hose, then inspect the inside seams.
- Paper towel test: Press a dry paper towel against the inside of the seam after the water test. Even a faint spot shows up quickly.
Reseal when it starts to leak
Seams age. Flexing, folding, sun and washing all wear on the film. When a seam starts to weep, clean it, remove only the sections of tape that are peeling, and re-seal with a product that matches the coating, as REI describes in its guidance.
Be realistic about what a seam sealer can fix. REI notes in its tent repair guide that sealing addresses seam leaks only. Condensation can still drip inside, an aging waterproof coating may need renewal, and refreshing the fabric’s durable water repellent finish can improve how well it sheds water. If water soaks through the middle of a panel rather than along a seam, the cause is the coating, not the stitching.
Mistakes that cause a seal to fail
- Using the wrong sealer for the coating. The most common cause of peeling tape and tacky liquid.
- Sealing a dirty or oily seam. Dust, body oil and silicone spray all stop adhesion.
- Creasing the tape. Water finds the crease.
- Skipping the scrap test. Iron heat that is too high can melt or distort a thin synthetic, while heat that is too low leaves the tape unbonded.
- Touching the tape before it cools. The 3 to 5 minute cooling window exists for a reason.
- Sealing only the long seams. Corners, ends and patches leak first.
- Expecting perfection at home. Prickly Gorse Gear notes that seam sealing is notoriously difficult to do perfectly at home, and suggests alternative designs, such as a floating liner or a dry bag, for complex gear.
Our perspective
Fabric is where waterproofing begins. A sealer can close a needle hole, but it cannot rescue a fabric that was the wrong choice for the job. We select our outdoor-capable textiles, including marine and utility fabrics, so that the weave, weight and finish are suited to the project before the first stitch is sewn.
Our approach is to treat the seam as part of the design. Choose a fabric with a coating you can identify, keep seams simple and flat where you can, and plan the sealing method at the same time as the pattern. When a customer brings us an outdoor project, such as covers, cushions or outdoor curtain panels, we talk through the fabric first, then the construction. That order saves time and avoids rework.
We also encourage ordering a sample before committing to yardage. A small piece lets you test a sealer or tape on the exact fabric you will use, which is the single most reliable way to avoid a failed seam.
Marrion
Choosing the right fabric before you sew
Seam sealing works best when the fabric is chosen with it in mind. Beautiful Windows Elgin carries fabric by the yard in marine, utility, upholstery and embroidered categories, along with ready-made curtain panels, and ships nationwide. Its team in Columbia, SC offers design consultations and drapery making by appointment.

If you are planning an outdoor project, browse the fabric by the yard selection, order a sample first and test your sealer on it. For vinyl-faced projects, the vinyl upholstery fabric is one option to consider, and for a custom-made piece you can book a drapery consultation.
For outdoor curtain projects specifically, two guides on this site cover the related questions of outdoor privacy curtain fabrics and hardware and controlling wind on outdoor curtains.
FAQ
Can I seam seal any outdoor fabric?
Not every fabric responds the same way. Seam sealers and tapes bond to specific coatings, so the product must match the coating on your fabric, whether that is polyurethane, silicone or vinyl. An uncoated weave will still pass water through the cloth, so sealing the seams will not make it waterproof. When in doubt, test on a scrap of the same fabric.
Is seam tape better than liquid sealer?
Neither is better in every case. Tape gives a neat finish on flat, low-stress seams in PU-coated or film-backed fabric. Liquid sealer is easier on curves and stressed seams and works across more fabric types. Many projects use both, with tape on the long runs and liquid sealer at corners and ends.
How long does seam sealer take to dry?
Liquid sealers vary by product, so follow the cure time printed on the label before exposing the item to water. Heat-activated tape needs no cure time, but the taped area should cool for 3 to 5 minutes before touching other surfaces, per the Adhesive Films guidance.
Why does my sealed seam still leak?
Common causes are a sealer that does not match the coating, a seam that was dirty or contaminated with silicone spray, creased tape, or a gap at a corner or tape end. It may also be that the leak is not at the seam at all: a worn coating or condensation can look the same. Clean the area, reseal with a matching product and recheck.
Sources
- Seam Sealing, MYOG Tutorials by Prickly Gorse Gear
- Making Outerwear with Down or Polyester Fiberfill, New Mexico State University
- What are taped seams, and why are they so vital?, Advnture
- Instruction Manual, Adhesive Films
- How to Waterproof a Tent, REI Expert Advice
- How to Repair a Tent, REI Expert Advice
Leave a Reply