Drapery stack back is the width of fabric a panel occupies once it’s pulled fully open and pushed to the side of the window. Plan on 4 to 12 inches of rod extension per side, depending on fabric weight and fullness, with most rooms landing between 6 and 10 inches. Beautiful Windows Elgin can walk you through the exact measurement if your window is oversized or your fabric is heavy.
TL;DR:
- Accurate measurement of return depth is crucial, as skipping it is the most common mistake that causes panels to clip the glass edges.
- Heavy, blackout, or interlined fabrics typically require 10 to 12 inches of clearance on each side, whereas sheers need only 4 to 6 inches.
- Most rooms should have rod extensions of 6 to 10 inches per side, with larger windows or heavier fabrics needing adjustments beyond this range.
- Professional measurement is recommended for oversized, oddly shaped, or complex setups where formulas cannot fully account for window irregularities.
- Always measure from wall to where the stacked fabric sits to ensure the total rod width matches the calculated need and avoids awkward bunching or view obstruction.
Table of Contents
- What Is Drapery Stack Back and Why Does It Matter?
- How Do You Calculate Stack Back for Center-Open and One-Way Draws?
- What Should You Measure Before Ordering Curtains or a Rod?
- Does Fabric Weight Change How Much a Curtain Stacks?
- How Far Should the Rod Extend Past the Window?
- When Should You Bring In a Professional for Measurement?
- Why Most Stack-Back Advice Undersells the Return
- Order Swatches and Get Your Windows Measured Right
- Sources
What Is Drapery Stack Back and Why Does It Matter?
Stack back is the horizontal space your curtain panels take up when they’re open, sitting bunched at the sides of the window frame rather than covering the glass. A center-open pair stacks fabric on both sides of the window; a one-way draw pushes all the fabric to a single side, which means that side needs considerably more clearance.
Get this wrong and it shows immediately. Under-measuring stack back leads to a familiar list of headaches:
- Panels that never fully clear the glass, blocking light and view even when “open”
- A window that looks smaller because fabric eats into the visible frame
- Rods mounted too close to the wall, causing panels to bunch awkwardly against the trim
- Mismatched pairs where one side stacks wider than expected and throws off the symmetry
Getting the stack-back number right before you order is what separates a window that reads open and airy from one that always looks half-closed.
How Do You Calculate Stack Back for Center-Open and One-Way Draws?
The math behind stack back isn’t complicated, but it does require a few honest inputs. For a center-open pair, the rough formula is:
- Rod width is calculated as window width plus two times the extension per side plus two times the return.
For a one-way draw, where all the fabric travels to one side:
- Rod width equals window width plus the extension on the draw side plus the return.
“Extension” is the distance the rod runs past the window frame on each side, which most rooms set between 6 and 10 inches. “Return” is the depth from the wall to the front of the fabric once it’s stacked, and it’s easy to forget when you’re eyeballing a rod length.
A workable rule of thumb: figure roughly 1 inch of stack per standard pleat, closer to 2 inches per pleat for heavy or interlined fabric. It’s a starting estimate, not gospel, so always measure the return and add it to your total before ordering rod width.

Example 1: A 48 inch window with medium-weight lined panels, center-open, 7 inch extension per side, and a 4 inch return: 48 + (2 × 7) + (2 × 4) = 70 inches of rod.
Example 2: A 96 inch picture window with blackout panels, one-way draw stacking left, 11 inch extension, and a 5 inch return: 96 + 11 + 5 = 112 inches of rod.
What Should You Measure Before Ordering Curtains or a Rod?
Grab a steel tape measure, a pencil, a step ladder, a level, and ideally a second set of hands to hold the tape steady on wider windows. Then work through this sequence:
- Measure the window width at the top, middle, and bottom of the frame. Frames settle over time, so the three numbers won’t always match.
- Note any trim, molding, or obstacles (light switches, adjacent doors) within a foot of either side.
- Decide mounting height. Most rooms benefit from a bracket set 4 to 6 inches above the trim, or closer to the ceiling for a taller look.
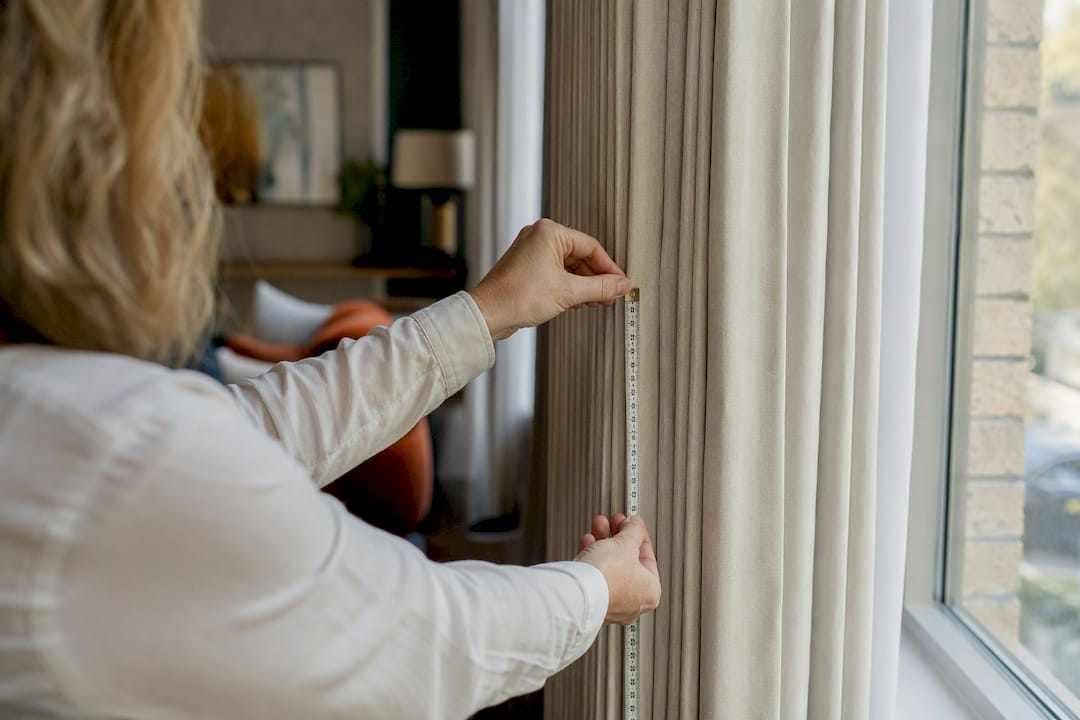
- Measure the return: hold your tape from the wall to where you expect the front of the stacked fabric to sit, and record it separately from the extension number.
- Write every measurement down on a single sheet, labeled by window, before you order anything.
Pro Tip: Photograph each window with your tape measure still in frame. When you’re comparing five or six windows later, the photos save you from mixing up which number belonged to which room.
If any of this feels like guesswork, our window measurement guide walks through the same checklist with visuals, or you can request a professional measurement.
Does Fabric Weight Change How Much a Curtain Stacks?
Yes, considerably. Sheers stack thin and airy; blackout and interlined panels stack thick and need real clearance to sit off the glass. As a starting reference:
- Sheers and unlined panels typically stack 4 to 6 inches wide per side.
- Standard lined panels usually run 6 to 8 inches.
- Heavy, interlined, or blackout panels often need 10 to 12 inches or more.
Fullness compounds this. Heading style matters just as much: wave headings glide into soft, even folds with a fairly compact stack, grommets stack in stiff circular folds that eat more width, pencil pleats gather tighter, and pinch pleats sit somewhere in between. If you’re layering drapery over a sheer or adding interlining for insulation, add another inch or two per side beyond your base estimate. It’s a smaller correction than most people expect, but skipping it is exactly why DIYers end up short on rod width after the panels arrive.
How Far Should the Rod Extend Past the Window?
The extension ranges below are a safe starting point for most standard-height windows and pair with the mounting guidance above.
| Panel type | Extension per side | Mounting height |
|---|---|---|
| Sheers / unlined | 4–6 inches | 4–6 inches above trim |
| Standard lined panels | 6–8 inches | 4–6 inches above trim |
| Large windows / blackout | 10–12 inches | Near ceiling for taller effect |
A few practical notes worth keeping in mind:
- Deep trim or heavy molding may require a bracket with longer projection so the panel clears the wall detail entirely.
- Mounting closer to the ceiling reads as a taller window even when the glass itself hasn’t changed size.
- Multiple-track installations (sheer plus drapery) need brackets rated for the combined projection depth, not just the single-panel figure.
When Should You Bring In a Professional for Measurement?
Formulas get you close. They don’t account for a window that’s slightly out of square, a fabric that behaves differently once it’s cut and hung, or a motorized track that needs precise bracket spacing. That’s where getting a second, trained set of eyes pays off.
Beautiful Windows Elgin specializes in curated designer fabrics, including jacquard satin and embroidered textiles, alongside custom drapery services built around personalized design consultations. The team supports clients with fabric samples and installation guidance, and ships nationwide, so you’re not limited to what’s available locally.

If you’re working with an oversized or oddly proportioned window, ordering a fabric with real weight and drape, or planning a motorized or multi-track setup, professional measurement removes the guesswork that a tape measure alone can’t fully resolve.
Why Most Stack-Back Advice Undersells the Return
The extension charts you’ll find across the internet are genuinely useful, and the ranges hold up. What they consistently underplay is the return. It’s the measurement DIYers skip because it feels like a rounding error, and it’s the one that most often turns a “close enough” rod order into a panel that clips the edge of the glass.
The conventional advice treats stack back as a single number you look up by fabric weight. In practice, it’s three numbers working together: extension, return, and the fullness your heading style demands. Skip any one of them and the formula still produces a result, just not the right one.
If there’s one thing to prioritize before anything else, it’s measuring the return honestly rather than estimating it. A tape measure held from the wall to where the stacked fabric will actually sit takes thirty seconds and prevents the single most common ordering mistake in this whole process. Get that number right, and the rest of the formula does what it promises.
— Marrion
Order Swatches and Get Your Windows Measured Right
Formulas get you close, but a fabric sample in your hand tells you things a spreadsheet never will: how the weight drapes, how the color shifts in your room’s light, how thick the stack actually looks once it’s hanging. Beautiful Windows Elgin, a fabric store and drapery making service based in Columbia, SC, gives you both sides of that equation: a curated collection of designer fabrics you can order by the yard, and a measurement service for windows that don’t fit neatly into a standard formula.

Browse the designer drapery fabric collection to request swatches before you commit to yardage, or if your window has an unusual shape, heavy trim, or a motorized track in the mix, request a professional measurement and skip the guesswork on rod width entirely. If you’re also weighing door styles near the same window wall, this barn vs. sliding vs. bifold comparison is a useful companion read. Order your samples today and get a rod width you can trust before the fabric ever arrives.
Sources
- How Far to Extend Curtain Rods Past the Window | Hobby Rig | Hobby Rig
- What Is Drapery Stack Back? – Threadwell
- How to Specify Curtain Tracks for Your Home – Smart Curtains UK
- How to Plan Your Drapery Stackback (So Windows Look Bigger) – Berkley Vallone
Recommended
- What Is Drapery Return? A Clear Guide for Homeowners – Fabric Store in Columbia, SC | Drapery Making Services
- What is drapery fullness? The key to stylish windows – Fabric Store in Columbia, SC | Drapery Making Services
- Drapery Fabric Selection Guide for Custom Window Treatments – Shop Designer Fabrics by the Yard | Curtains & Drapery
- Seam Allowance for Drapery: What DIY Sewers Need to Know – Fabric Store in Columbia, SC | Drapery Making Services